| CPC B23K 26/244 (2015.10) [B23K 26/103 (2013.01); B23K 26/705 (2015.10)] | 7 Claims |

|
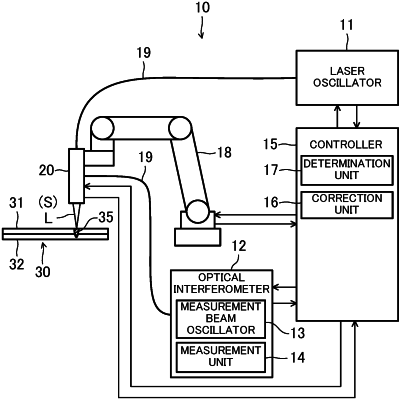
1. A laser welding device configured to weld two overlapping workpieces by emitting a laser beam to the workpieces to form a weld bead, the laser welding device comprising:
an irradiation unit configured to emit, to the workpieces, the laser beam and a measurement beam having a wavelength different from a wavelength of the laser beam;
a measurement unit configured to measure a depth from a predetermined reference surface based on the measurement beam emitted by the irradiation unit and reflected from the workpieces;
an irradiation position switching part configured to switch an irradiation position of the measurement beam between a keyhole position coaxial with an optical axis of the laser beam and a weld bead position behind a center of the optical axis of the laser beam in a welding direction, wherein the weld bead has a surface where a recess is formed; and
a controller configured to determine an amount of a gap between the two workpieces based on a measured value of a recess depth measured at the weld bead position, by making a comparison with recess depth previously measured in a state where there is no gap between the two workpieces.
|