| CPC G01N 29/0654 (2013.01) [G01N 29/043 (2013.01); G01N 29/0645 (2013.01); G01N 29/069 (2013.01); G01N 29/24 (2013.01); G01N 29/26 (2013.01); G01N 29/265 (2013.01); G01N 29/28 (2013.01); G01N 29/4427 (2013.01); G01N 29/4445 (2013.01); G01N 29/4472 (2013.01); G01N 2291/0231 (2013.01); G01N 2291/0289 (2013.01); G01N 2291/04 (2013.01); G01N 2291/044 (2013.01); G01N 2291/101 (2013.01); G01N 2291/106 (2013.01); G06F 3/04847 (2013.01)] | 20 Claims |

|
1. A system for visualizing defects within a test material, comprising:
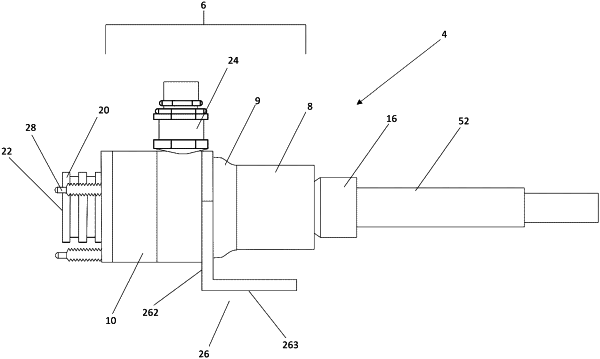
a non-destructive testing device in communication with a processor and a graphical user interface (GUI);
wherein the processor receives signals from the non-destructive testing device corresponding to a test object and processes the signals to produce scan data;
wherein, based on the scan data, the processor generates at least one A-scan image and a plurality of C-scan images;
wherein the GUI is operable to display a three-dimensional (3-D) graphical representation of the test object, wherein at least one surface of the 3-D graphical representation is equivalent to one of the plurality of C-scan images; and
wherein the processor constructs and the GUI displays the 3-D graphical representation in real time, as the signals are received by the processor; and
wherein the system is operable to automatically align the plurality of C-scan images by centroids of a plurality of damage areas of each of the plurality of C-scan images.
|