| CPC G01R 31/343 (2013.01) [B23Q 17/0961 (2013.01); G01R 19/0092 (2013.01); B23Q 2717/003 (2013.01)] | 6 Claims |

|
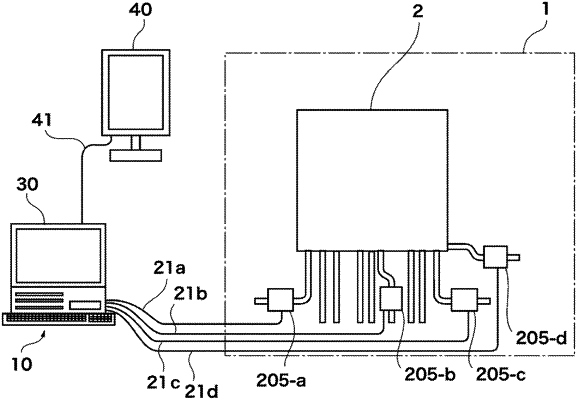
1. A current measuring system for a machine tool, the current measuring system comprising a first current sensor and a second current sensor each connected to an information processing device,
wherein the machine tool that processes a workpiece while changing plural kinds of tools comprises:
a first motor that receives load fluctuation when the workpiece is processed; and
a second motor that operates to change a tool to a different kind of tool, and
wherein the information processing device performs a process of overlapping a time-history waveform of a current which flows through the first motor and which is measured by the first current sensor with a time-history waveform of a current which flows through the second motor and which is measured by the second current sensor in such a way that respective elapsed times match with each other, identifies a changing operation of the plural kinds of tools from the current which flows through the second motor and which is measured by the second current sensor to determine a segment where each of the plural kinds of tools is used, takes out the current of the first motor measured by the first current sensor for the segment where each of the plural kinds of tools is used, and relatively compares a non-negative function value that has a current value at each taken-out segment as a parameter for each number of times of processing on the workpiece, thereby detecting a tool abnormality for each kind of the tool.
|