| CPC G01B 11/06 (2013.01) [G01B 11/30 (2013.01)] | 19 Claims |

|
1. A method comprising:
determining first thickness measurements for a first element prior to assembling the first element with a second element;
determining second thickness measurements for the second element prior to assembling the second element with the first element;
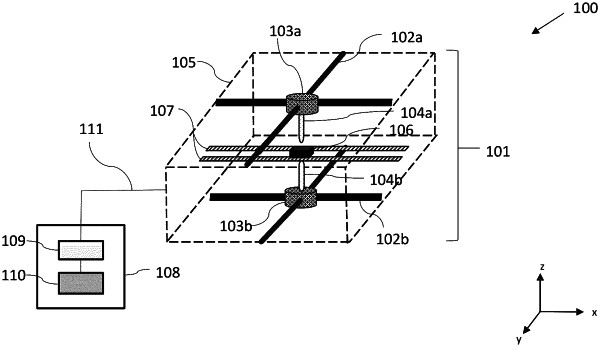
assembling the first element over the second element to form an assembled element, wherein the assembled element comprises a first gap between the first and second elements;
determining assembled thickness measurements for the assembled element; [and]
generating a first gap measurement map based on the differences between the assembled thickness measurements and the sum of the individual first and second thickness measurements, wherein the first, second, and assembled thickness measurements used to generate the first gap measurement map correspond to locations on the first, second, and assembled elements, respectively, that are in vertical alignment;
determining third thickness measurements for a third element
determining fourth thickness measurements for a fourth element
assembling the third element over the fourth element to form a second assembled element, wherein the second assembled element comprises a second gap between the third and fourth elements;
determining second assembled thickness measurements for the second assembled element;
generating a second gap measurement map based on the difference between the second assembled thickness measurements and the sum of the individual third and fourth thickness measurements; and
comparing the first and second gap measurement maps.
|