| CPC H02K 15/02 (2013.01) [G01N 29/041 (2013.01); H02K 1/26 (2013.01)] | 2 Claims |

|
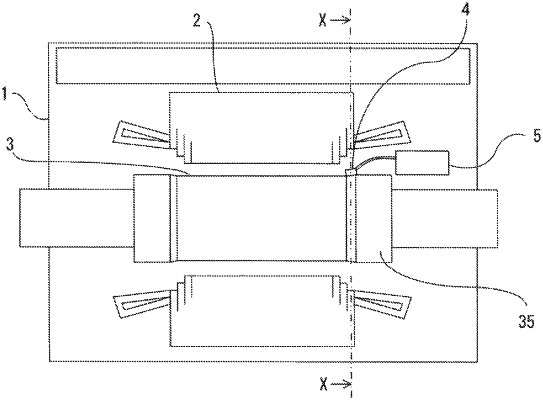
1. A rotor tooth crack inspection method for a rotary electric machine in which a rotor is rotatably provided inside a stator, the rotor has a plurality of slots radially formed in a radial direction so as to be arranged along a circumferential direction of an armature core and has teeth between the slots, field coils for generating a magnetic field are wound around the teeth and stored in the slots, and a retaining ring for fixing coil ends of the field coils is fitted at an end part on an outer circumferential side of the teeth, the rotor tooth crack inspection method inspecting whether or not a crack has occurred at a shoulder portion of each tooth, the rotor tooth crack inspection method comprising:
placing, in advance, a phased array probe at a position on an outer circumferential surface of the retaining ring that is located in a direction estimated to be perpendicular to an occurrence angle α which is defined as an occurrence angle of a crack, the occurrence angle α of the crack being within a range of 45 degrees to 60 degrees from a reference line B to the radially outer direction, where a line passing by the tooth shoulder portions perpendicularly to a center line A is defined as reference line B, the center line A extending from the center of the rotor in the radial direction of each tooth;
and performing sector scan with a beam transmission angle set in a range of 20 degrees to 70 degrees with an ultrasonic beam radiated from the phased array probe, to inspect whether or not the crack has occurred.
|