| CPC G05B 19/401 (2013.01) [G05B 19/4207 (2013.01); G05B 2219/37198 (2013.01)] | 25 Claims |

|
1. A manufacturing device that incorporates three-dimensional imaging measurement and dynamic inspection feedback, comprising:
a sensor that performs inspection;
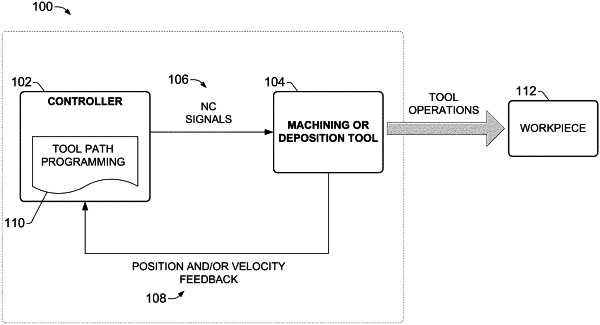
a tool for at least one of machining or deposition;
a memory; and
a processor configured to execute components stored on the memory, the components comprising:
a sequencing component configured to
initiate execution of tooling path instructions, wherein the execution of the tooling path instructions causes the tool to traverse a defined tooling path estimated to fabricate a part in a work cell using at least one of subtractive or additive tooling in accordance with a digital model of the part, and
in response to completion of the execution of the tooling path instructions, initiate execution of inspection path instructions, wherein the execution of the inspection path instructions causes a metrology sensor to collect measured inspection data for the part while the part is in the work cell;
an inspection component configured to determine whether the part is within tolerance of design specifications based on a comparison of the measured inspection data with the digital model of the part; and
a tool path generation component configured to, in response to a determination by the inspection component that a portion of the part is not within tolerance of the design specifications, generate corrective tooling path instructions based on a difference between the measured inspection data and the digital model,
wherein
the sequencing component is further configured to initiate execution of the corrective tooling path instructions in response to the determination that the portion of the part is not within tolerance of the design specifications, and
the execution of the corrective tooling path instructions causes the tool to traverse a corrective tooling path that corrects the portion of the part and that omits portions of the defined tooling path not related to correction of the portion of the part.
|