| CPC G03F 7/705 (2013.01) [G03F 1/36 (2013.01); G03F 7/70508 (2013.01); G03F 7/70616 (2013.01)] | 20 Claims |

|
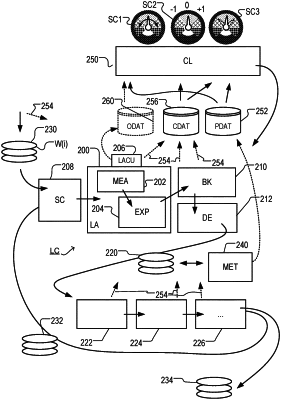
1. A method for determining a correction for an apparatus used in a process of patterning substrates, the method comprising:
obtaining a group structure associated with a processing history and/or similarity in fingerprint of to be processed substrates;
obtaining metrology data associated with a plurality of groups within the group structure, wherein the metrology data is correlated between the groups; and
determining the correction for a group out of the plurality of groups by applying a model to the metrology data, the model comprising at least a group-specific correction component and a common correction component,
wherein the model comprises one or more group-specific correction parameters and one or more common correction parameters, wherein the parameters are coefficients of base functions representing a spatial characteristic of the correction.
|